Here are some recipes for Tamil food using the Instant Pot. They represent the way I’ve been making these dishes recently for myself.
One example of how I’ve customized my recipes for myself, compared to the “typical” style, is that I have been replacing chili peppers (மிளகாய்) with black pepper (மிளகு). The reason is that peppers were “only” introduced to Asia within the last 500 years, and மிளகு was likely what it replaced, which has a history of cultivation and use in Tamil areas for more than 2000 years. But an argument of authenticity based solely on antiquity is not a good argument and is not useful. What is interesting is ancedotal evidence of how chili peppers are not good for your body, based on complications from people who eat too much. Personally, my stomach and guts don’t feel good from eating too much chili spice. People say black pepper has more medicinal properties, and the research of how black pepper activates turmeric’s anti-inflammatory properties confirm this. Look at any bottle of turmeric pills in the store — they now always contain an amount of black pepper’s active ingredient. Most Tamil dishes have turmeric, and if all the chili “spice” (காரம் / உறைப்பு) was converted into black pepper, then you can imagine the hidden health benefits. Plus, you won’t have indigestion from too much black pepper. (But if you need to build up more tolerance to chili spice, the trick is to soak a handful of fenugreek (வெந்தயம்) seeds in water until they absorb the water, and then swallow them with the water, and do this daily.)
Also, I like grains thoroughly cooked and moist. I don’t necessarily like cooked grain (சோறு) to be so moist that it is wet, but I prefer that to it being undercooked and dry. To underscore the point, I’m not sure if I’ve ever eaten quinoa made in stores or restaurants that was cooked nearly enough.
Tips for before and after using Instant Pot
Before using Instant Pot
- Instant Pot can be used for many things. For the recipes on this page, it is best suited for boiling things — lentils and grains (ex: millet, rice, oats). Instant Pot makes boiling quicker, cleaner, and more consistent.
- If using Instant Pot for multiple recipes in a row, it might make cleanup of Instant Pot easier if you keep Instant Pot just for boiling lentils (instead of also making it the site for mixing). This means that for lentils, sauteing of the spices / tempering should start off in a pot big enough to hold the addition of the lentils from the Instant Pot. I got a couple of these stackable large pots so that I can attempt making large volumes of multiple vegetables while doing the tempering and combining steps for lentils in another large pot and keeping the instant pot for boiling of lentils and grains.
- I prefer water ratios that have more water than you might see for non-Asian food. I don’t like dry grains or undercooked grains. Instead, I prefer moist and slightly stick grains (like rice is made in Asia). Recipes for Instant Pot skew to having too little water, perhaps because tastes are different. I find nearly all quinoa made in public restaurants and salad bars woefully undercooked. I also prefer water ratios for lentils that result in a fully boiled lentil, as is typical for many South Indian curries. North Indian lentil curries sometimes have a partially boiled lentil in a watery broth, which is not how I roll.
After using Instant Pot
- Don’t put hot food directly into the refrigerator. Food will spoil inside the fridge that way (ex: sambar). Let the food cool off before putting into the fridge.
- After finishing cooking food in the Instant Pot, the food will hold onto heat that will continue the cooking process, specifically, it will continue to evaporate the water content in the food. (This applies to regular pots, too).
- You should remove the stainless steel container from the Instant Pot immediately after it is done cooking and the pressure releases. The Instant Pot is insulated well due to its thickness and traps in the heat, which causes the food to dry out.
- Even after taking out the stainless steel container with cooked food, the food holds onto a lot of residual heat. Because the extra continued heat causes further evaporation (which happens when you wait for the food to cool off before putting into the fridge), I measure the water ratios “higher” than average. This results in “wetter” grains than normal if you were to eat immediately after cooking, but I am okay with that for a first meal. But leftovers are not dried out.
- To ensure the food doesn’t dry out too much before refrigerating, I find removing the stainless steel container is not enough. Stirring will accelerate the heat loss process to prevent drying out. I find stirring is also necessary, in addition to the high water ratios and removing of the stainless steel container, to ensure the refrigerated version is sufficiently wet. This is true for both grains and lentils, and especially for lentils.
- Alternatively, to optimize for eating the food immediately (ex: you are cooking for a large group who will eat everything), then you can decrease the water ratio (ex: change 1 : 3 to 1 : 2.5), ensure the setting “Keep Warm” is set to “Off”. If you then end up having leftovers, you can add back a little water and mix it in thoroughly while residual heat remains. This works fairly well.
- After finishing boiling things in the Instant Pot and emptying the pot, it’s normal for a little food residue to stick to the bottom of the stainless steel “container”. You can usually scrape this off the bottom without problems.
- For cleaning the Instant Pot, if the stainless steel “container” is removed and cools off quickly enough, bits of food may get stuck to the sides or the bottom before you get to it. To clean, there are two options:
- Quickest: pour boiling / hot water, let it sit for a few seconds over the dried food bits, and use a scraper or a spoon to dislodge the bits
- Easiest: pour enough water of any temperature to submerge the food bits, and add 1-2 drops of soap, and let it sit overnight. Then clean as normal the next day.
- You’ll want to store your large quantities of food in small containers and use them as you need them (the whole “meal prep” idea). Look for “meal prep” container sets — a set of identical size containers. Most regular food container sellers sell you a set of different-sized containers cheaply but individual units cost a lot. I prefer glass containers because I’m worried about putting hot food in plastic containers, so I found these glass meal prep containers that are reasonably affordable and somewhat stackable when empty.
- Once you get the hang of cooking in volume and you want to avoid trips to the grocery store (ex: shelter-in-place), you can do your part to minimize industrial food waste by getting farm-to-house delivery of “imperfect” fruits and vegetables or grocery delivery services that claim to give their workers a living wage.
சிறுதானியங்கள் / Millets (“small grains”)
Millets have been eaten traditionally for thousands of years in South India. The Green Revolution in India that raised the yields of rice and wheat made those expensive grains more affordable, but millets are making a comeback due to their much better nutritional value, better climate hardiness including less water demands, and much lower cost to grow.
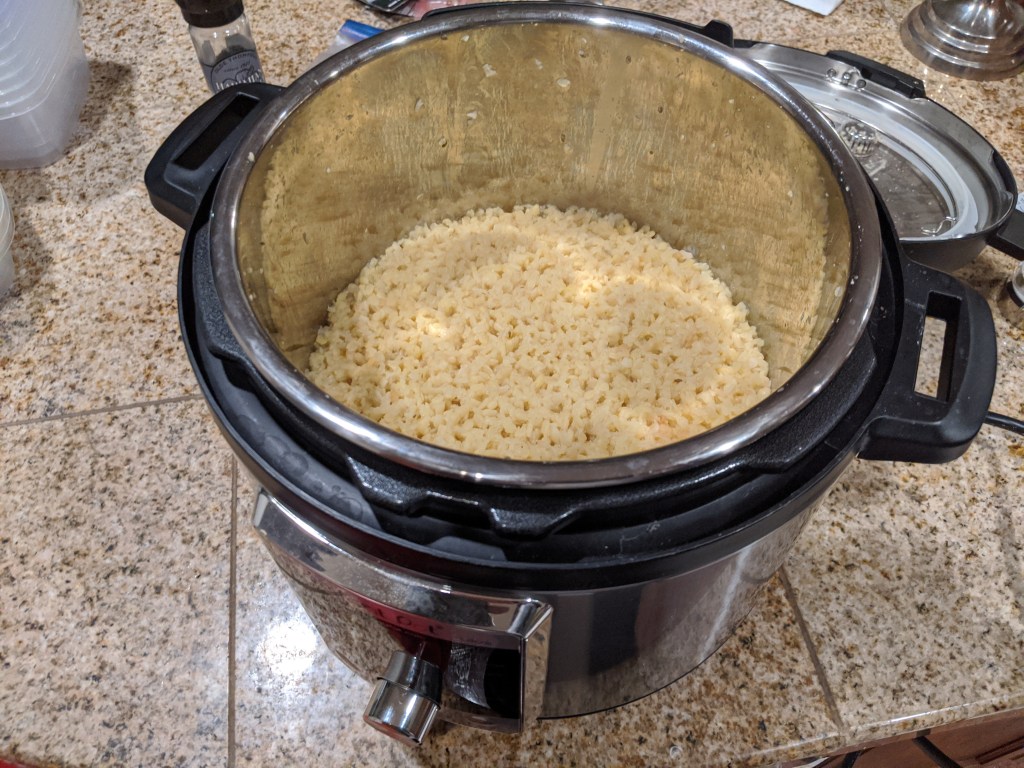
Instant Pot cooking instructions for grains:
- Rinse the grain two times over
- A rinse is pouring water into the grain so that the water submerges the grain, and stir the grain with your fingers to release dust, impurities, starch, etc. into the water, then draining the water
- Use “Pressure Cook” mode
- Select “Pressure: High”
- Select “Keep Warm: Off”
- Add the appropriate amount of water needed for cooking
- Like the above section on general tips, remove stainless steel container from insulated pot after natural pressure release is done
| பெயர் (Tamil Name) | Transliteration | English translation | Ratio grain to water | Instant Pot Cook Time |
|---|---|---|---|---|
| கம்பு | kambu | pearl millet | 1 : 3 | 12 mins |
| சோளம் (உமியுடன், புழுங்கவைத்து) | chOlam | sorghum (with hull, parboiled) | 1 : 2 ? | 30 mins ? |
| தினை | thinai | foxtail millet | 1 : 3 | 12 mins |
| குதிரைவாலி | kuthiraivaali | barnyard millet | 1 : 3 | 12 mins |
| சாமை | chaamai | little millet | 1 : 3 | 12 mins |
| வரகு | varahu | kodo millet | 1 : 3 | 12 mins |
| கேழ்வரகு / கேப்பை / குரக்கன் / இராகி | kEzhvarahu / kEppai / kurakkan / raagi | finger millet | n/a | n/a |
| பனிவரகு | panivarahu | proso millet | 1 : 3 | 12 mins |
| குலைசாமை | kulaisaamai | browntop millet | 1 : 3 | 12 mins |
| சோளம் (உடைத்து) | chOlam | sorghum (broken; with hull, parboiled) | 1 : 3 | 12 mins |
- Basic nutritional info for சிறுதானியஙகள். Some of the curative properties listed sound like folk beliefs, but anecdotally, I do know who have seen visibly noticeable health benefits from switching from rice to traditional grains like sorghum and brown top millet. (table version).
- In terms of health benefits, compared to the traditional grains, the typical modes of rice and wheat make them the worst grains (rice – white rice; wheat – flour (not wheatberries or farro)). There are various different settings for Instant Pot to cook the different types of rice (short vs. long grain, white vs. brown), which I may gather in the future.
- Be sure not to use any version of the grains listed as “semolina” (aka “ravai”) with the instructions above. “Semolina” / “ravai” means that the grains are smaller particles than the full grain, and more importantly, the germ of the grain that contains less fiber and nutrition. They fully boil much more quickly and with a starchier consistency. உப்புமா (uppuma aka upma) is a dish made specifically for semolina size grains, where you can boil them quickly in a pan on a stove together with vegetables and/or lentils. The above instant pot instructions are for full grain boiled grain.
Without an Instant Pot
- Cook in a pot with a lid
- An Instant Pot grain : water ratio of 1 : 2 will become 1 : 3 in a regular pot in a lid, or 1 : 4 or 1 : 5 in a pot without a lid
பருப்பு குழம்புகள் / கறிகள் / Lentils & Curries
These recipes will use Instant Pot to boil the lentils separately from the tempering ingredients. The timings are for the plain lentils to boil them to a fully mushy consistency, which is how I like them for “typical curries”. Dishes like koottu (கூட்டு) need to retain texture of the lentils somewhat, so they are different than “typical curries” like paasi paruppu and sambar.
| பெயர் (Tamil name) | Transliteration | English translation | Ratio of lentil : water | Instant Pot cook time |
|---|---|---|---|---|
| பாசிப் பருப்பு | paasi paruppu | paasi paruppu aka moong dal (split, hulled) | 1 : 3 | 18 mins |
| துவரம் பருப்பு | thuvaram paruppu | thuvaram paruppu aka toor dal (split, hulled) | 1 : 3 | 35 mins |
Tips for lentils
- Recipes here for lentils have 2 parallel steps: boiling lentils, and sauteing spices/garnishes. The final step is to combine and ensure the mixing of these 2 steps.
- If using Instant Pot for multiple recipes in a row, it might make cleanup of Instant Pot easier and faster if you read some of the general tips above.
பாசி பருப்பு மசியல் / pasi paruppu (moong dal) masiyal
பருப்பு வேகவைப்பது (boiling lentils)
- Put dry lentils into empty pot on low heat
- Stir often until the lentils are hot enough to release their smell clearly
- Remove from heat; stir to release heat?
- Rinse in water two times over
- Add the appropriate amount of water needed for cooking pasi paruppu
- Add 1 tsp salt / cup of dry lentils
- Use “Pressure Cook”
- Select “Keep Warm: OFF”
- Press “Start”
தாளிப்பு (tempering)
- These instructions are written for 2 cups of dry pasi paruppu lentils
- The தாளிப்பு (tempering) can be done simultaneously while the lentils are cooking in the Instant Pot
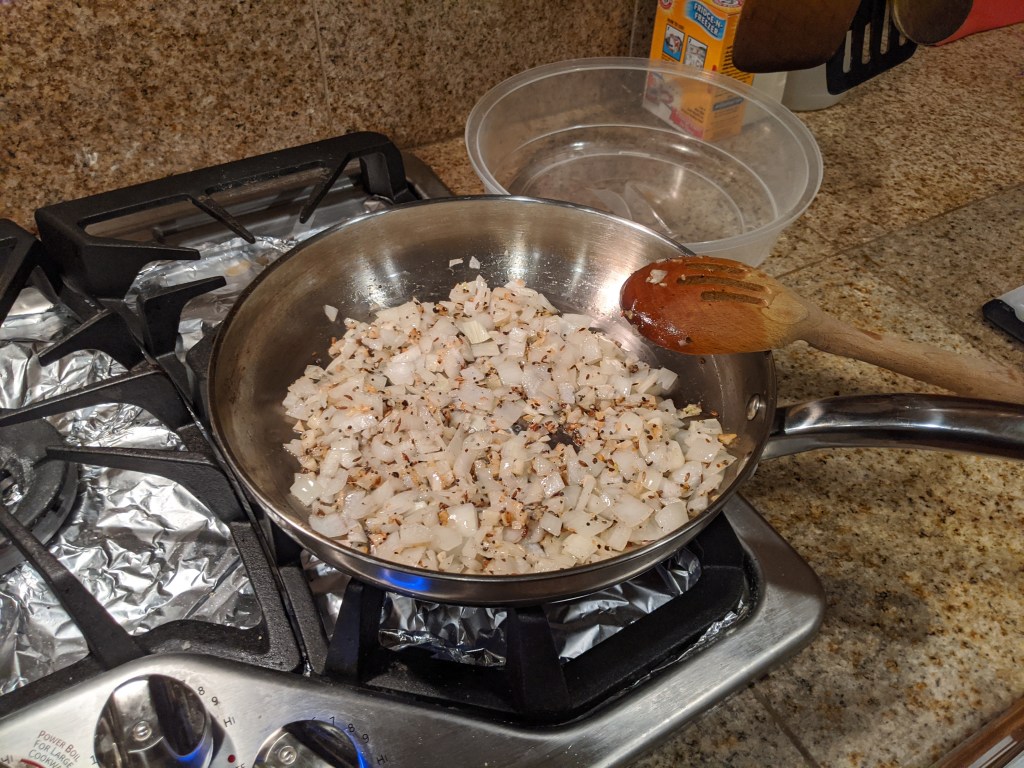
- In a pan, add 3+ tablespoons of oil, turn to medium-low heat
- Add a 1/3 tablespoon of mustard seeds (கடுகு), heat until they begin to dance / pop
- Add a 1/2 tablespoon of cumin seeds (சீரகம்) for only 15 seconds
- Add 4-5 cloves of minced garlic (I like garlic, so I add a couple more cloves)
- Add 1/2 big onion diced up
- Stir around to ensure the cumin seeds don’t burn
- Coarsely grind black pepper (மிளகு) on top
- Optionally add a little salt to ensure the onions sweat and mix with the ingredients
- Add more oil if the pan doesn’t have enough and the ingredients are sticking to the pan
- Let sit on heat until onions translucent, stir only occasionally
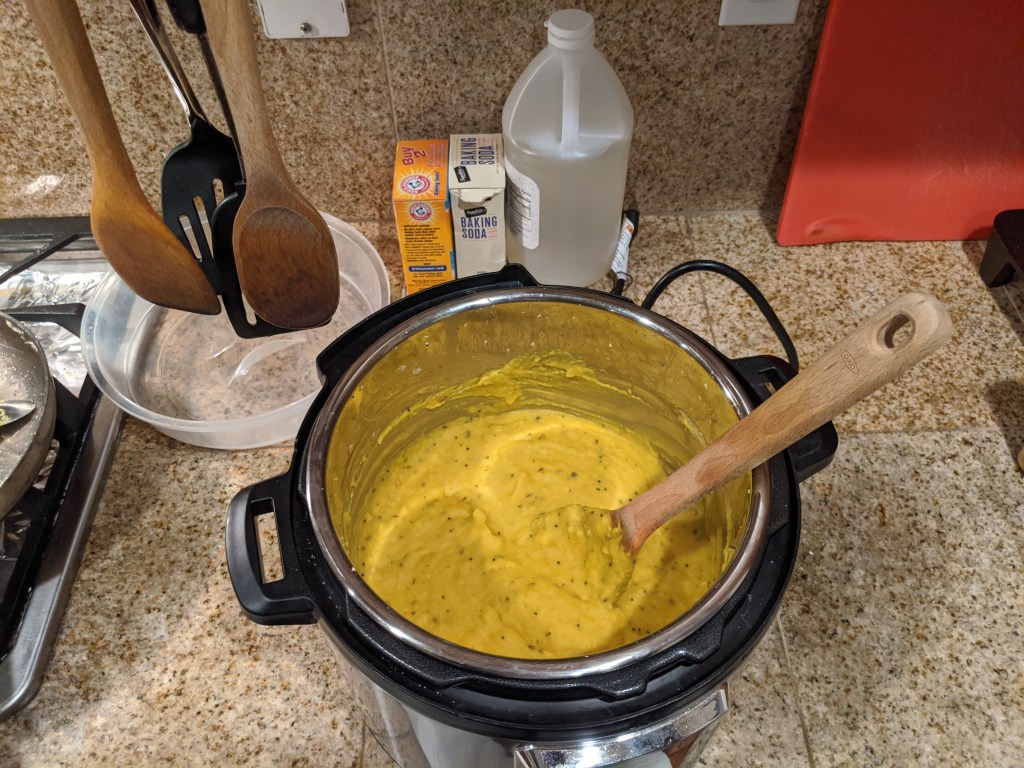
Combination
- Add tempering (தாளித்த பொருள்) to the boiled lentils in the Instant Pot
- Use “Satué Mode”
- Set temperature for Low (even Medium heat is way too hot and causes the lentils to boil again)
- Set time for 5 minutes (don’t scale this time up for larger quantities of lentils)
- Press “Start”
- Stir in the tempering
- Add 1 tblsp of turmeric power (மஞ்சள்)
- Add in salt until it’s “enough” (4 tblsp?)
- Finely grind black pepper if desired
- Put in a modest amount of clarified butter (நெய்)
- A tiny amount makes a huge difference in taste
- Stir some more
சாம்பார் / sambar
பருப்பு வேகவைப்பது (boiling lentils)
- Same steps as for paasi paruppu above, but using the different water ratio and timings in the table above.
தாளிப்பு (tempering)
- These instructions are written for 2 cups of dry thuvaram paruppu lentils
- Optional: prepare vegetables to add
- Prep work for vegetables can add to the total time required, but can make the sambar healthier and tastier. You can skip this step to keep things simple and quicker.
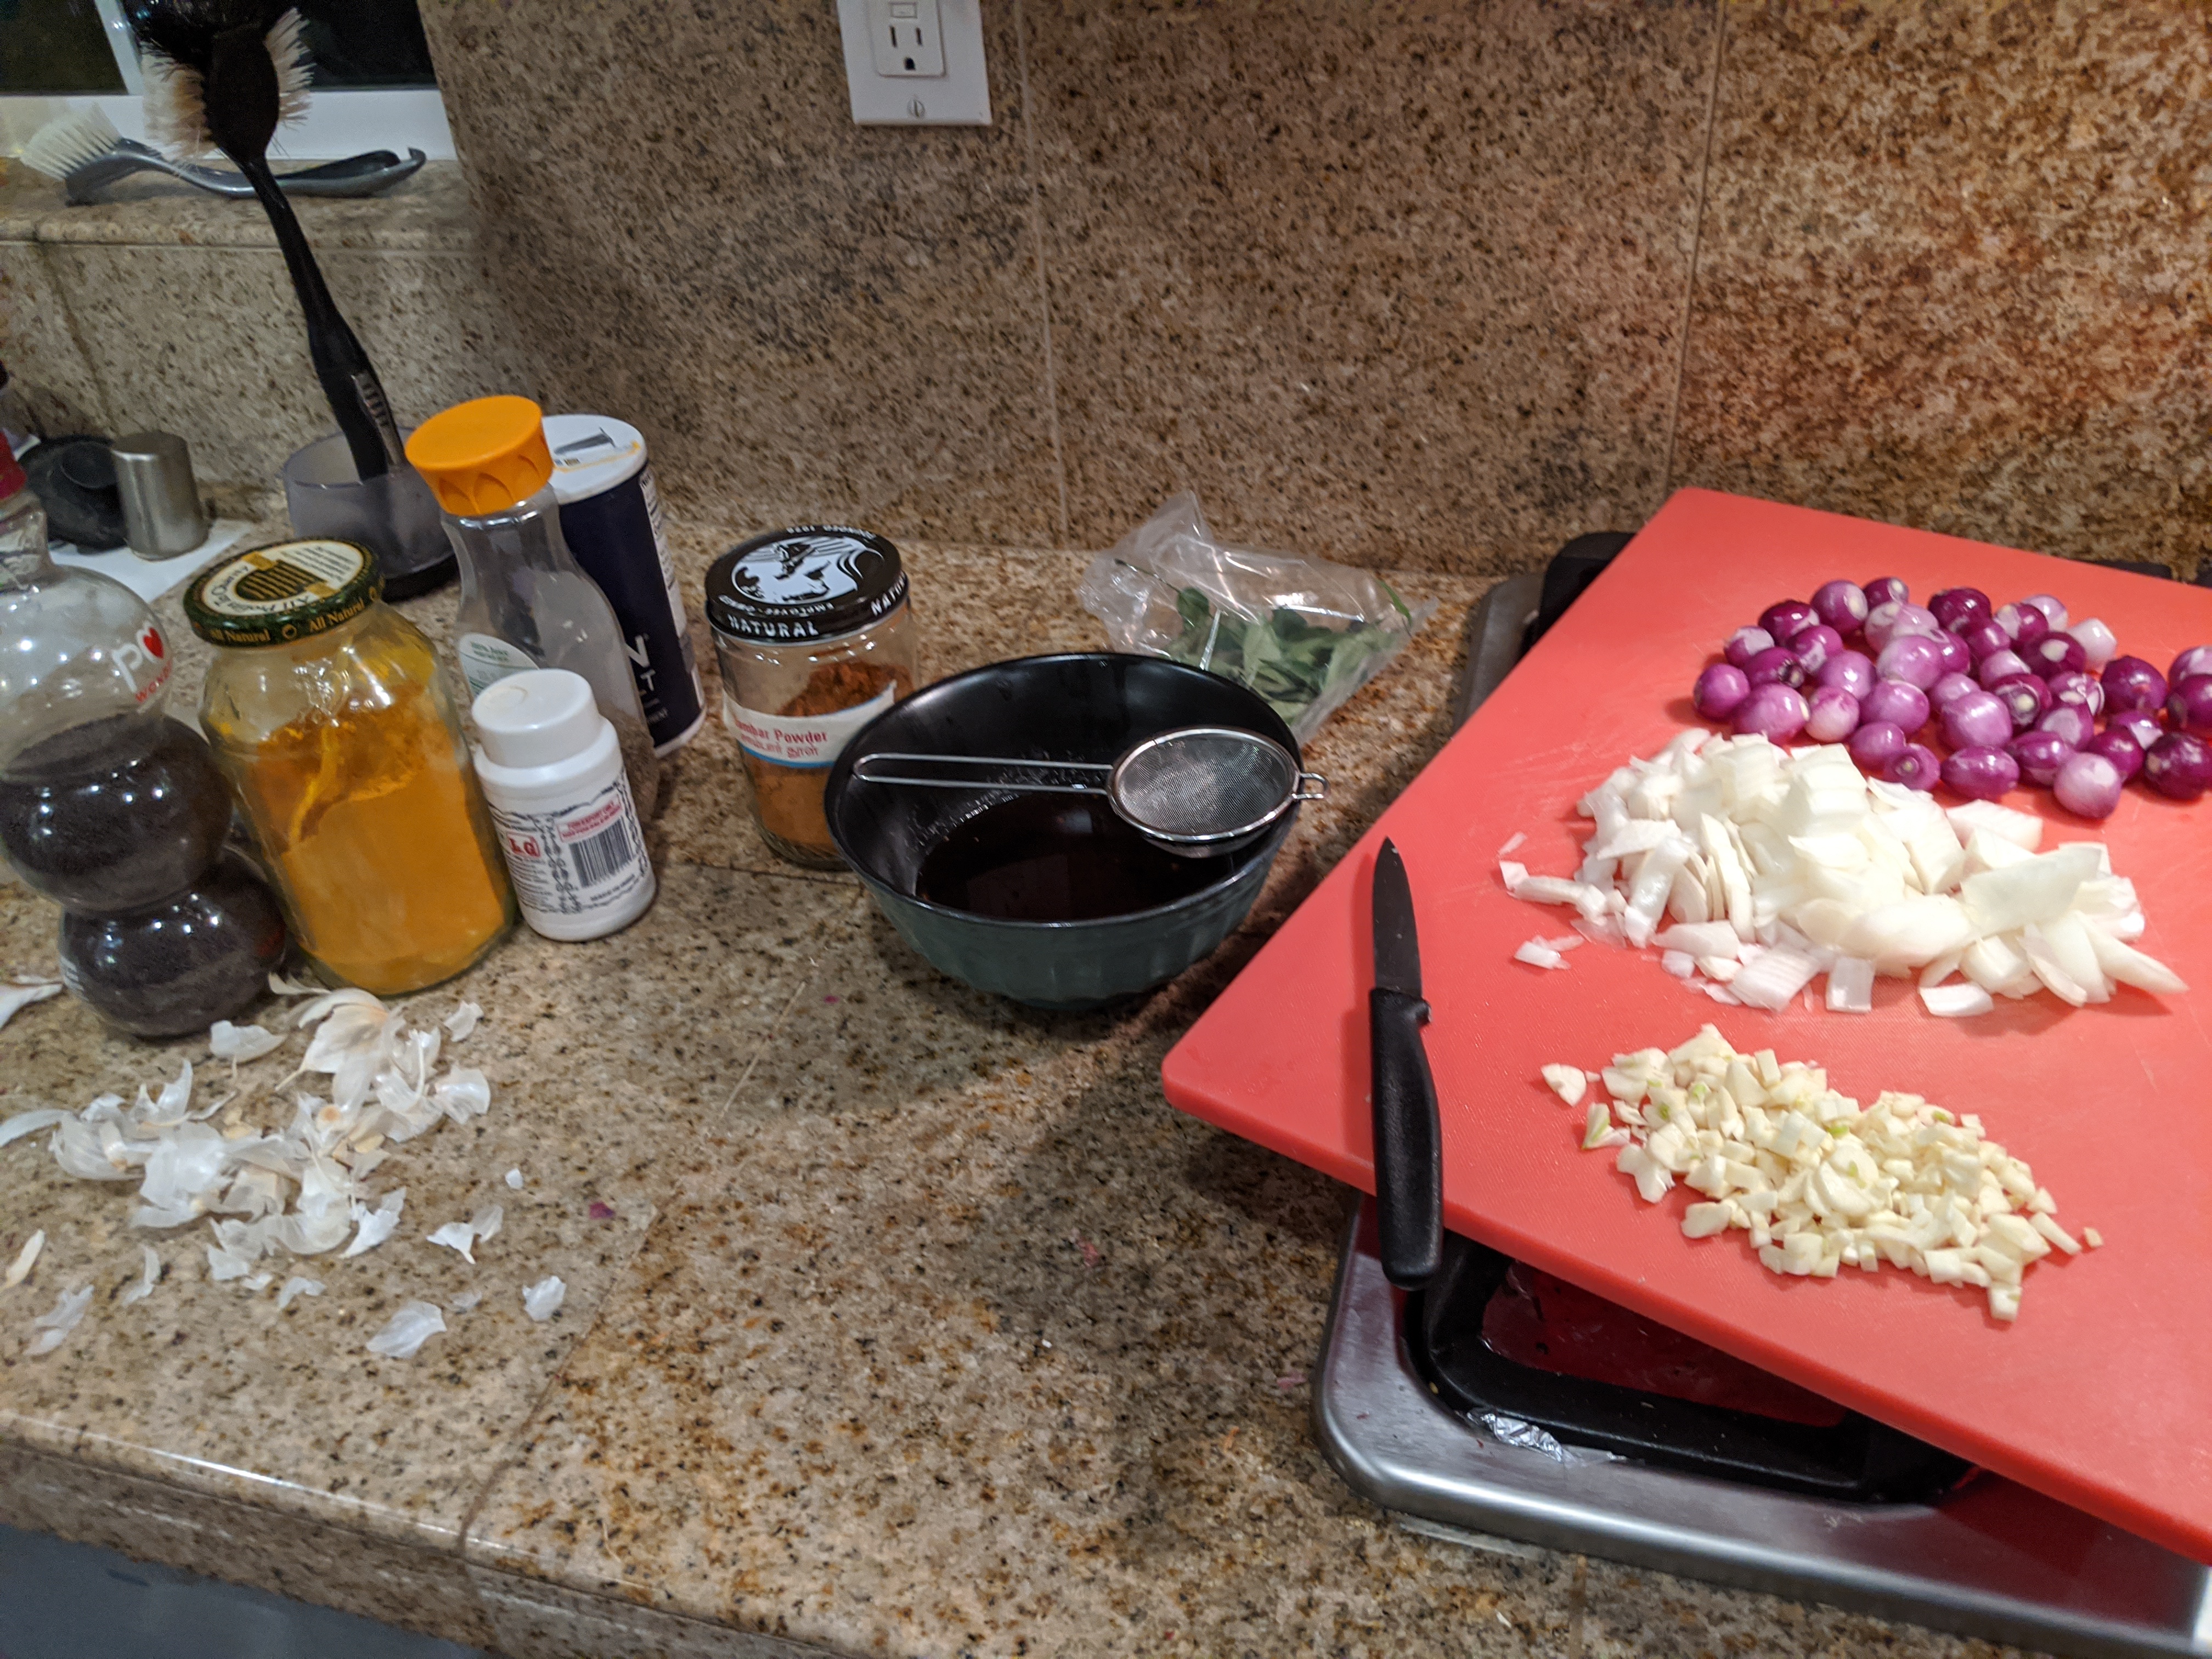
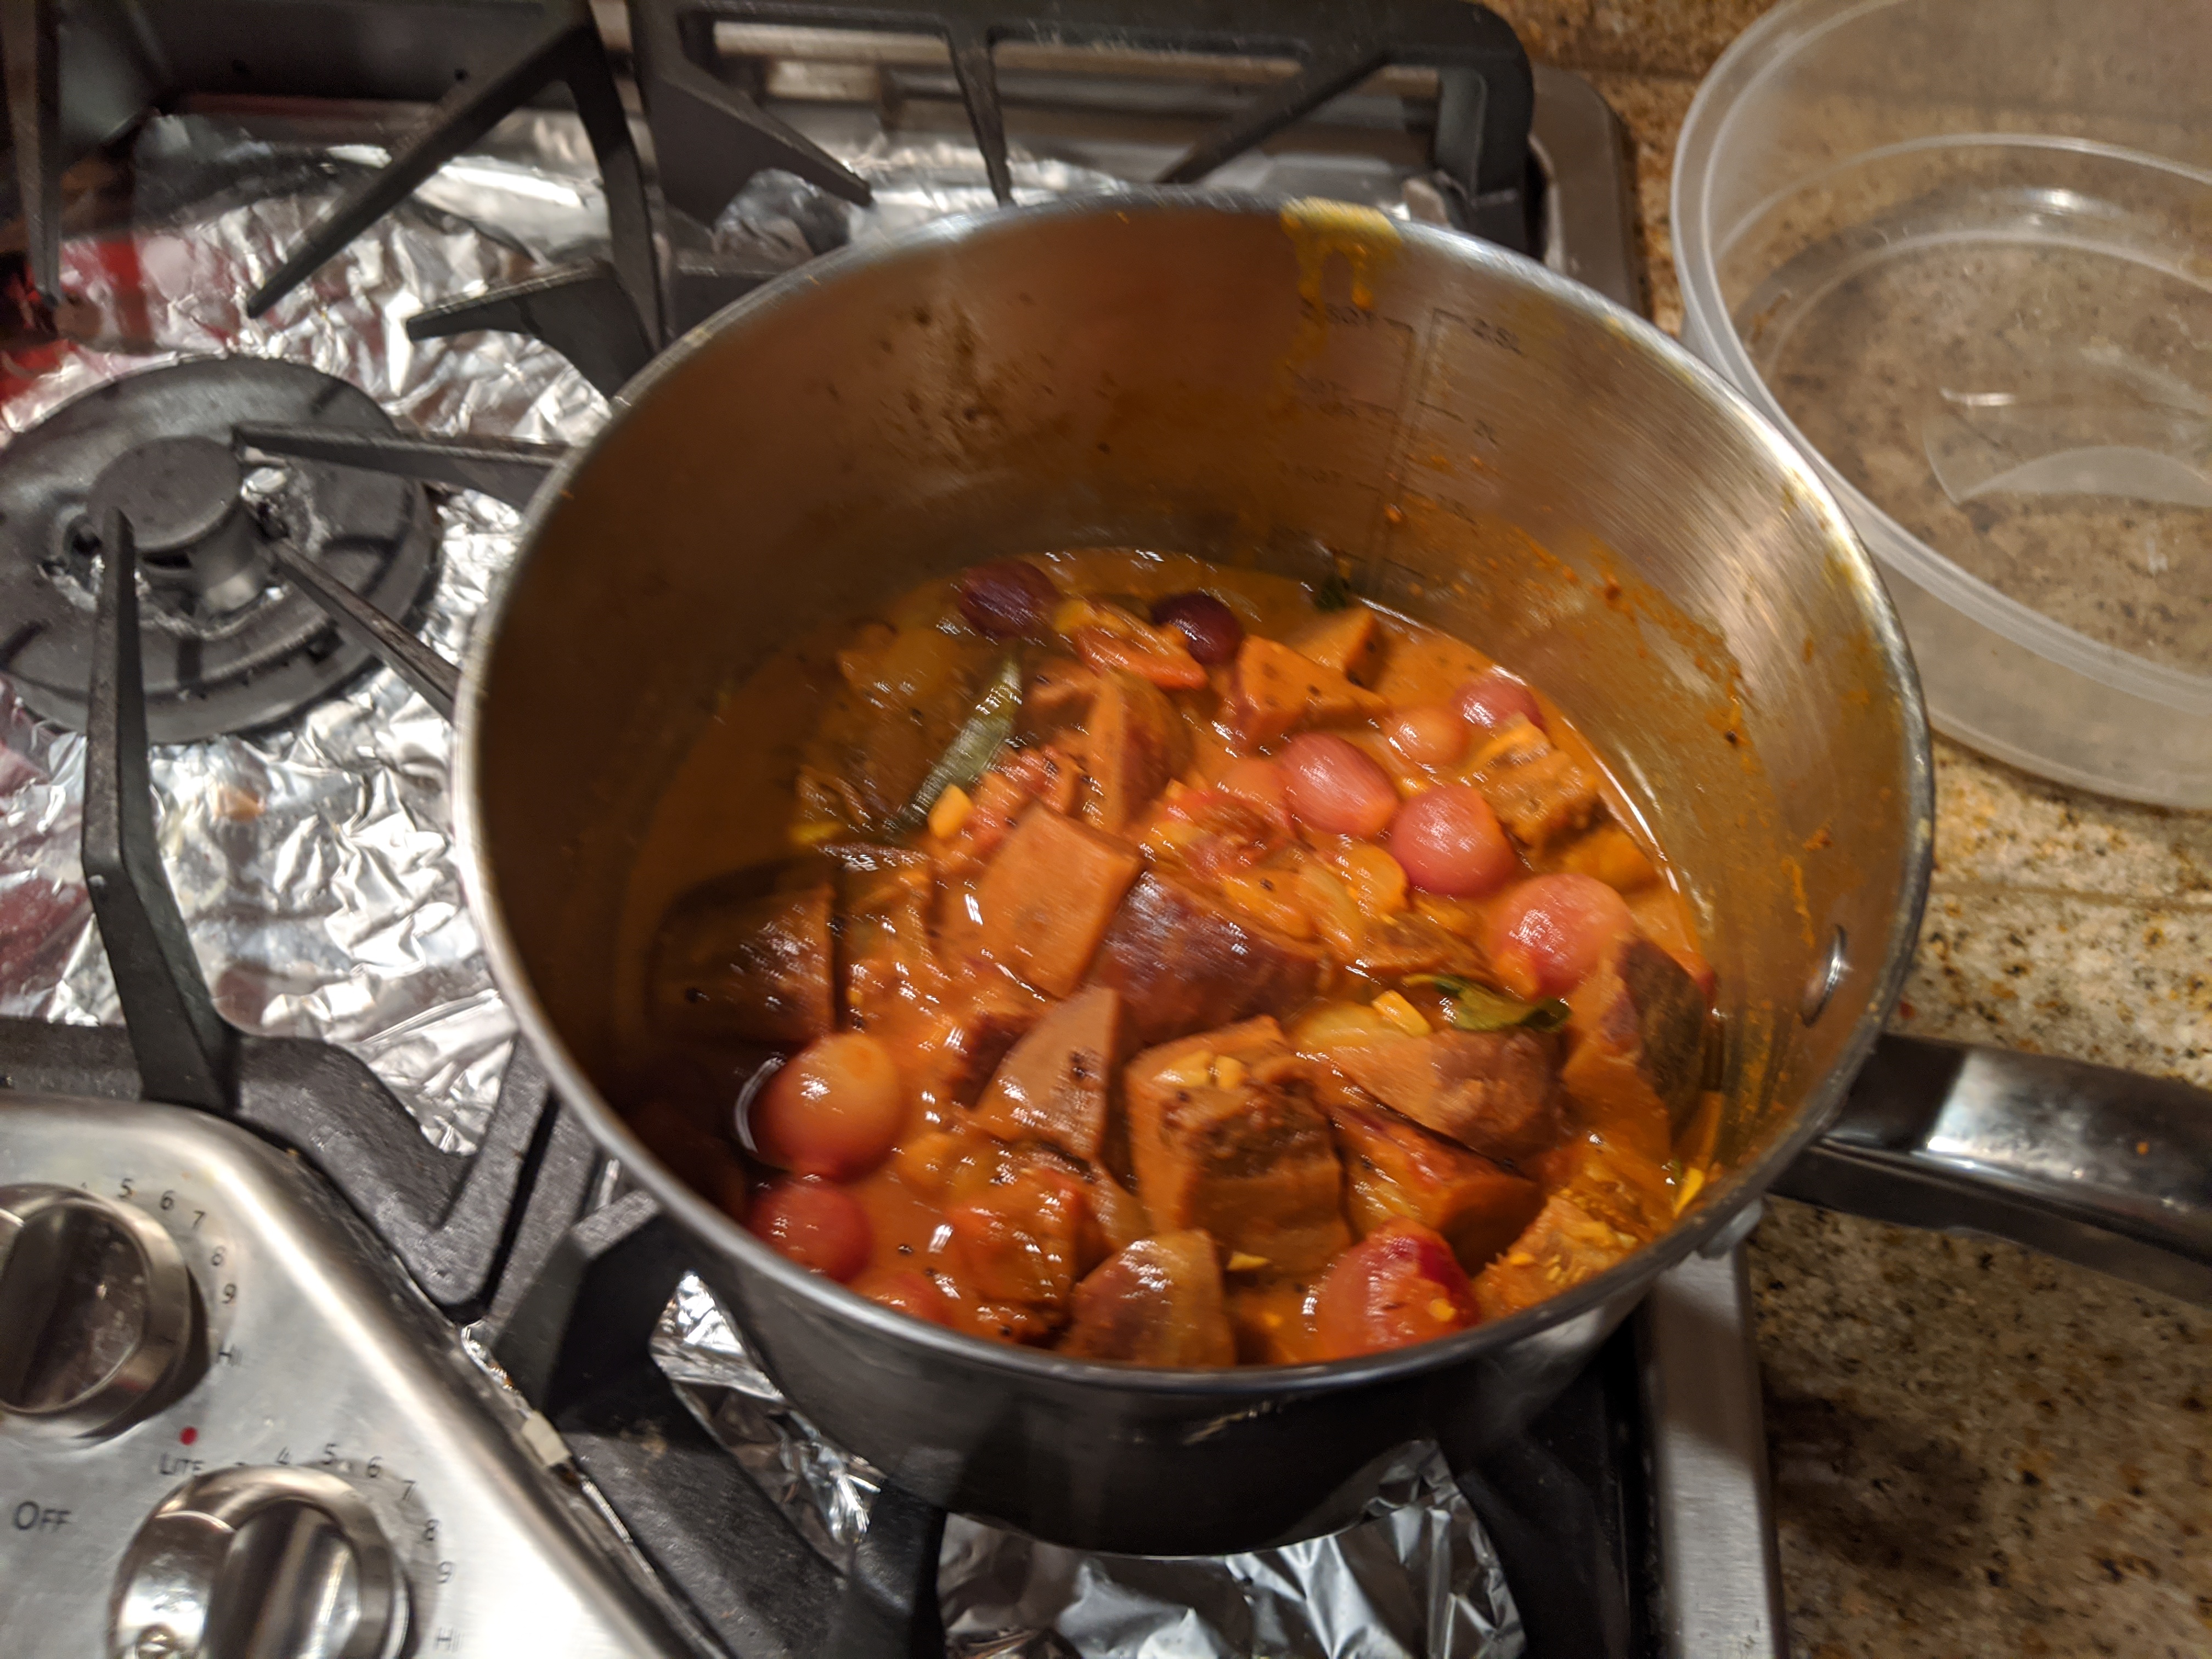
- Typical traditional vegetables are diced small (Indian) eggplants and small (pearl) onions. Other vegetables are possible, like certain types of traditional squashes. If using small eggplants, dice to a size of 1/2 an inch, and submerge the pieces immediately in a bowl of water. Use about 4-5 small eggplants. Eggplants provide a contrasting flavor and texture to the sambar. There appear to be tricks for peeling small onions (but the most effective strategy is following the soaking in water and cutting the top and root with heating the onions in a pan with oil to easily remove the skin that still clings and the tough first flesh layer). Use 1/2 lb. of small onions. Cooked small onions add a sweetness that offsets the spicy savoriness of the sambar.
- Some non-traditional vegetables like diced carrots are also possible. Not tested: fully thawing bags of frozen diced vegetables as a substitute for preparing their fresh vegetable equivalents.
- Prepare tamarind water
- Pinch off a chunk of dried tamarind the size of a நெல்லிக்காய் (gooseberry) = golf ball. Spread out flat in a bowl, add 1.5 cups of water, heat in the microwave for 1.5 minutes. Squeeze the solid pieces to extract the flavor fully. Keep a strainer on hand (later on, when pouring the water, strain out all the solid tamarind pieces.)
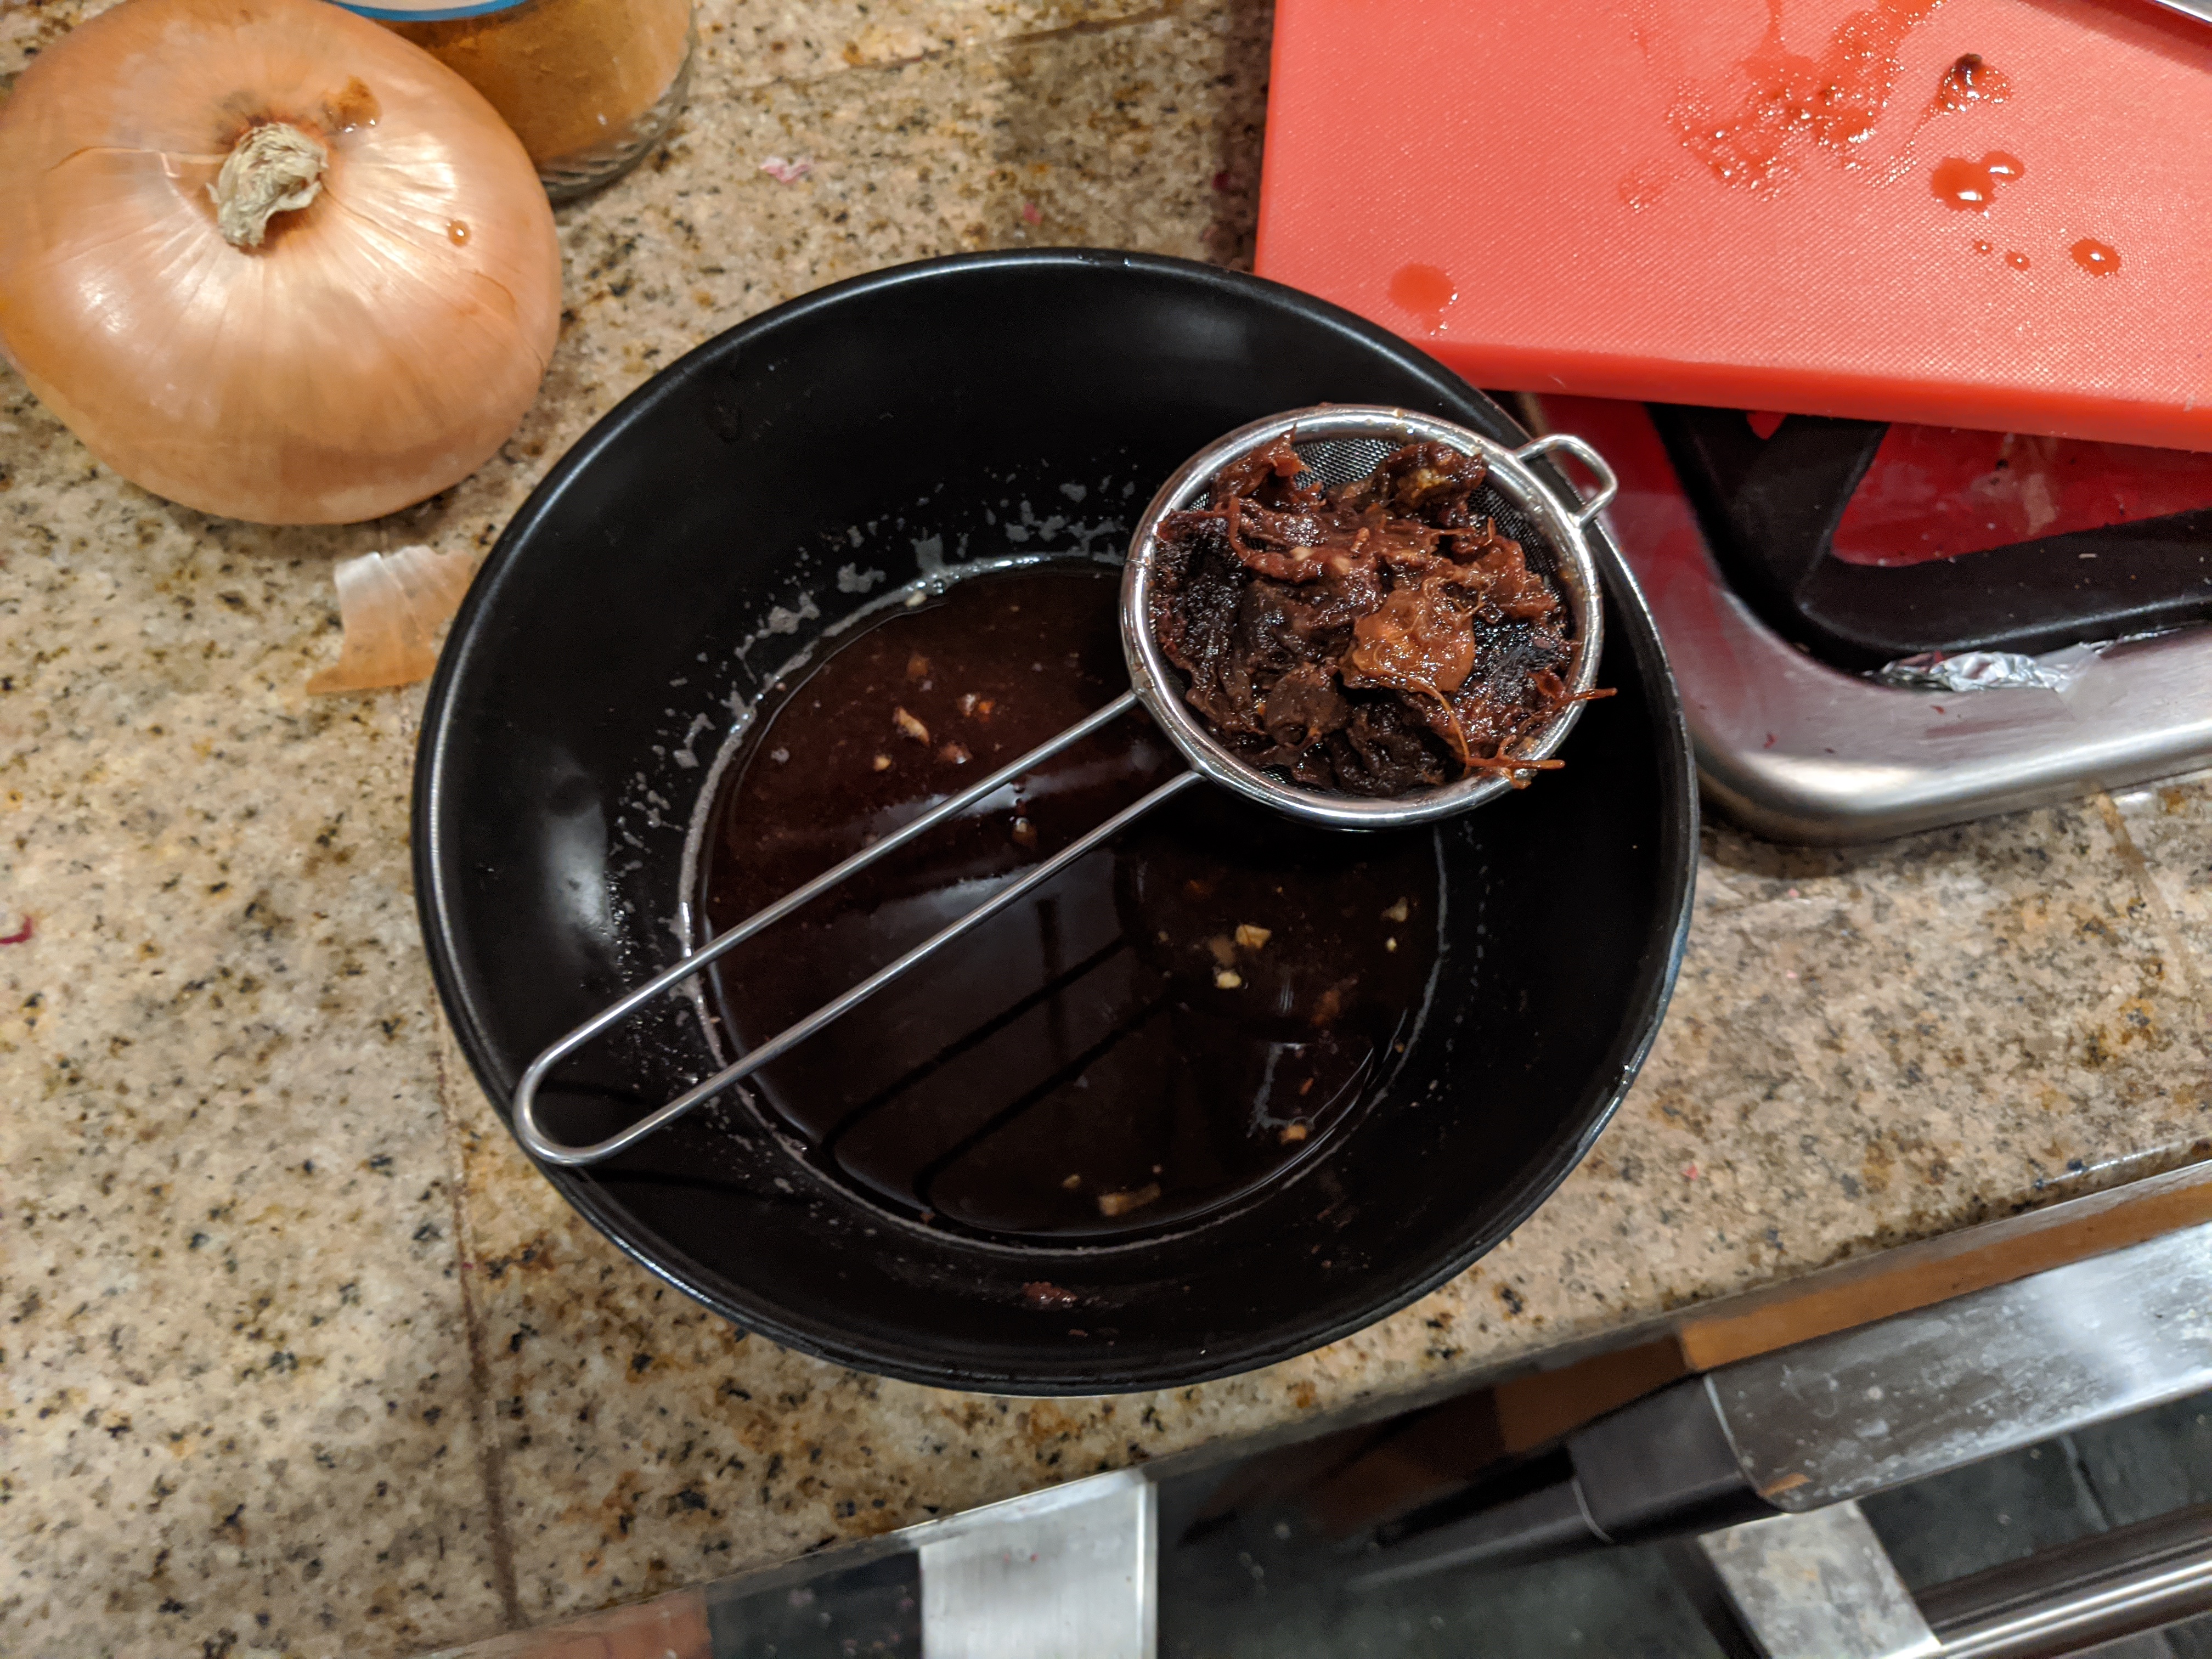
- Pinch off a chunk of dried tamarind the size of a நெல்லிக்காய் (gooseberry) = golf ball. Spread out flat in a bowl, add 1.5 cups of water, heat in the microwave for 1.5 minutes. Squeeze the solid pieces to extract the flavor fully. Keep a strainer on hand (later on, when pouring the water, strain out all the solid tamarind pieces.)
- Prep ingredients listed below. Most shown here.
- In a pot, add 4 tblsp of oil and 1 tblsp of mustard seeds (கடுகு), put on medium heat
- As soon as the mustard seeds start to pop, add 1 tblsp of cumin seeds (சீரகம்) and 1/2 tsp’s worth of squirts from a bottle of asfoetida (பெருங்காயம்)
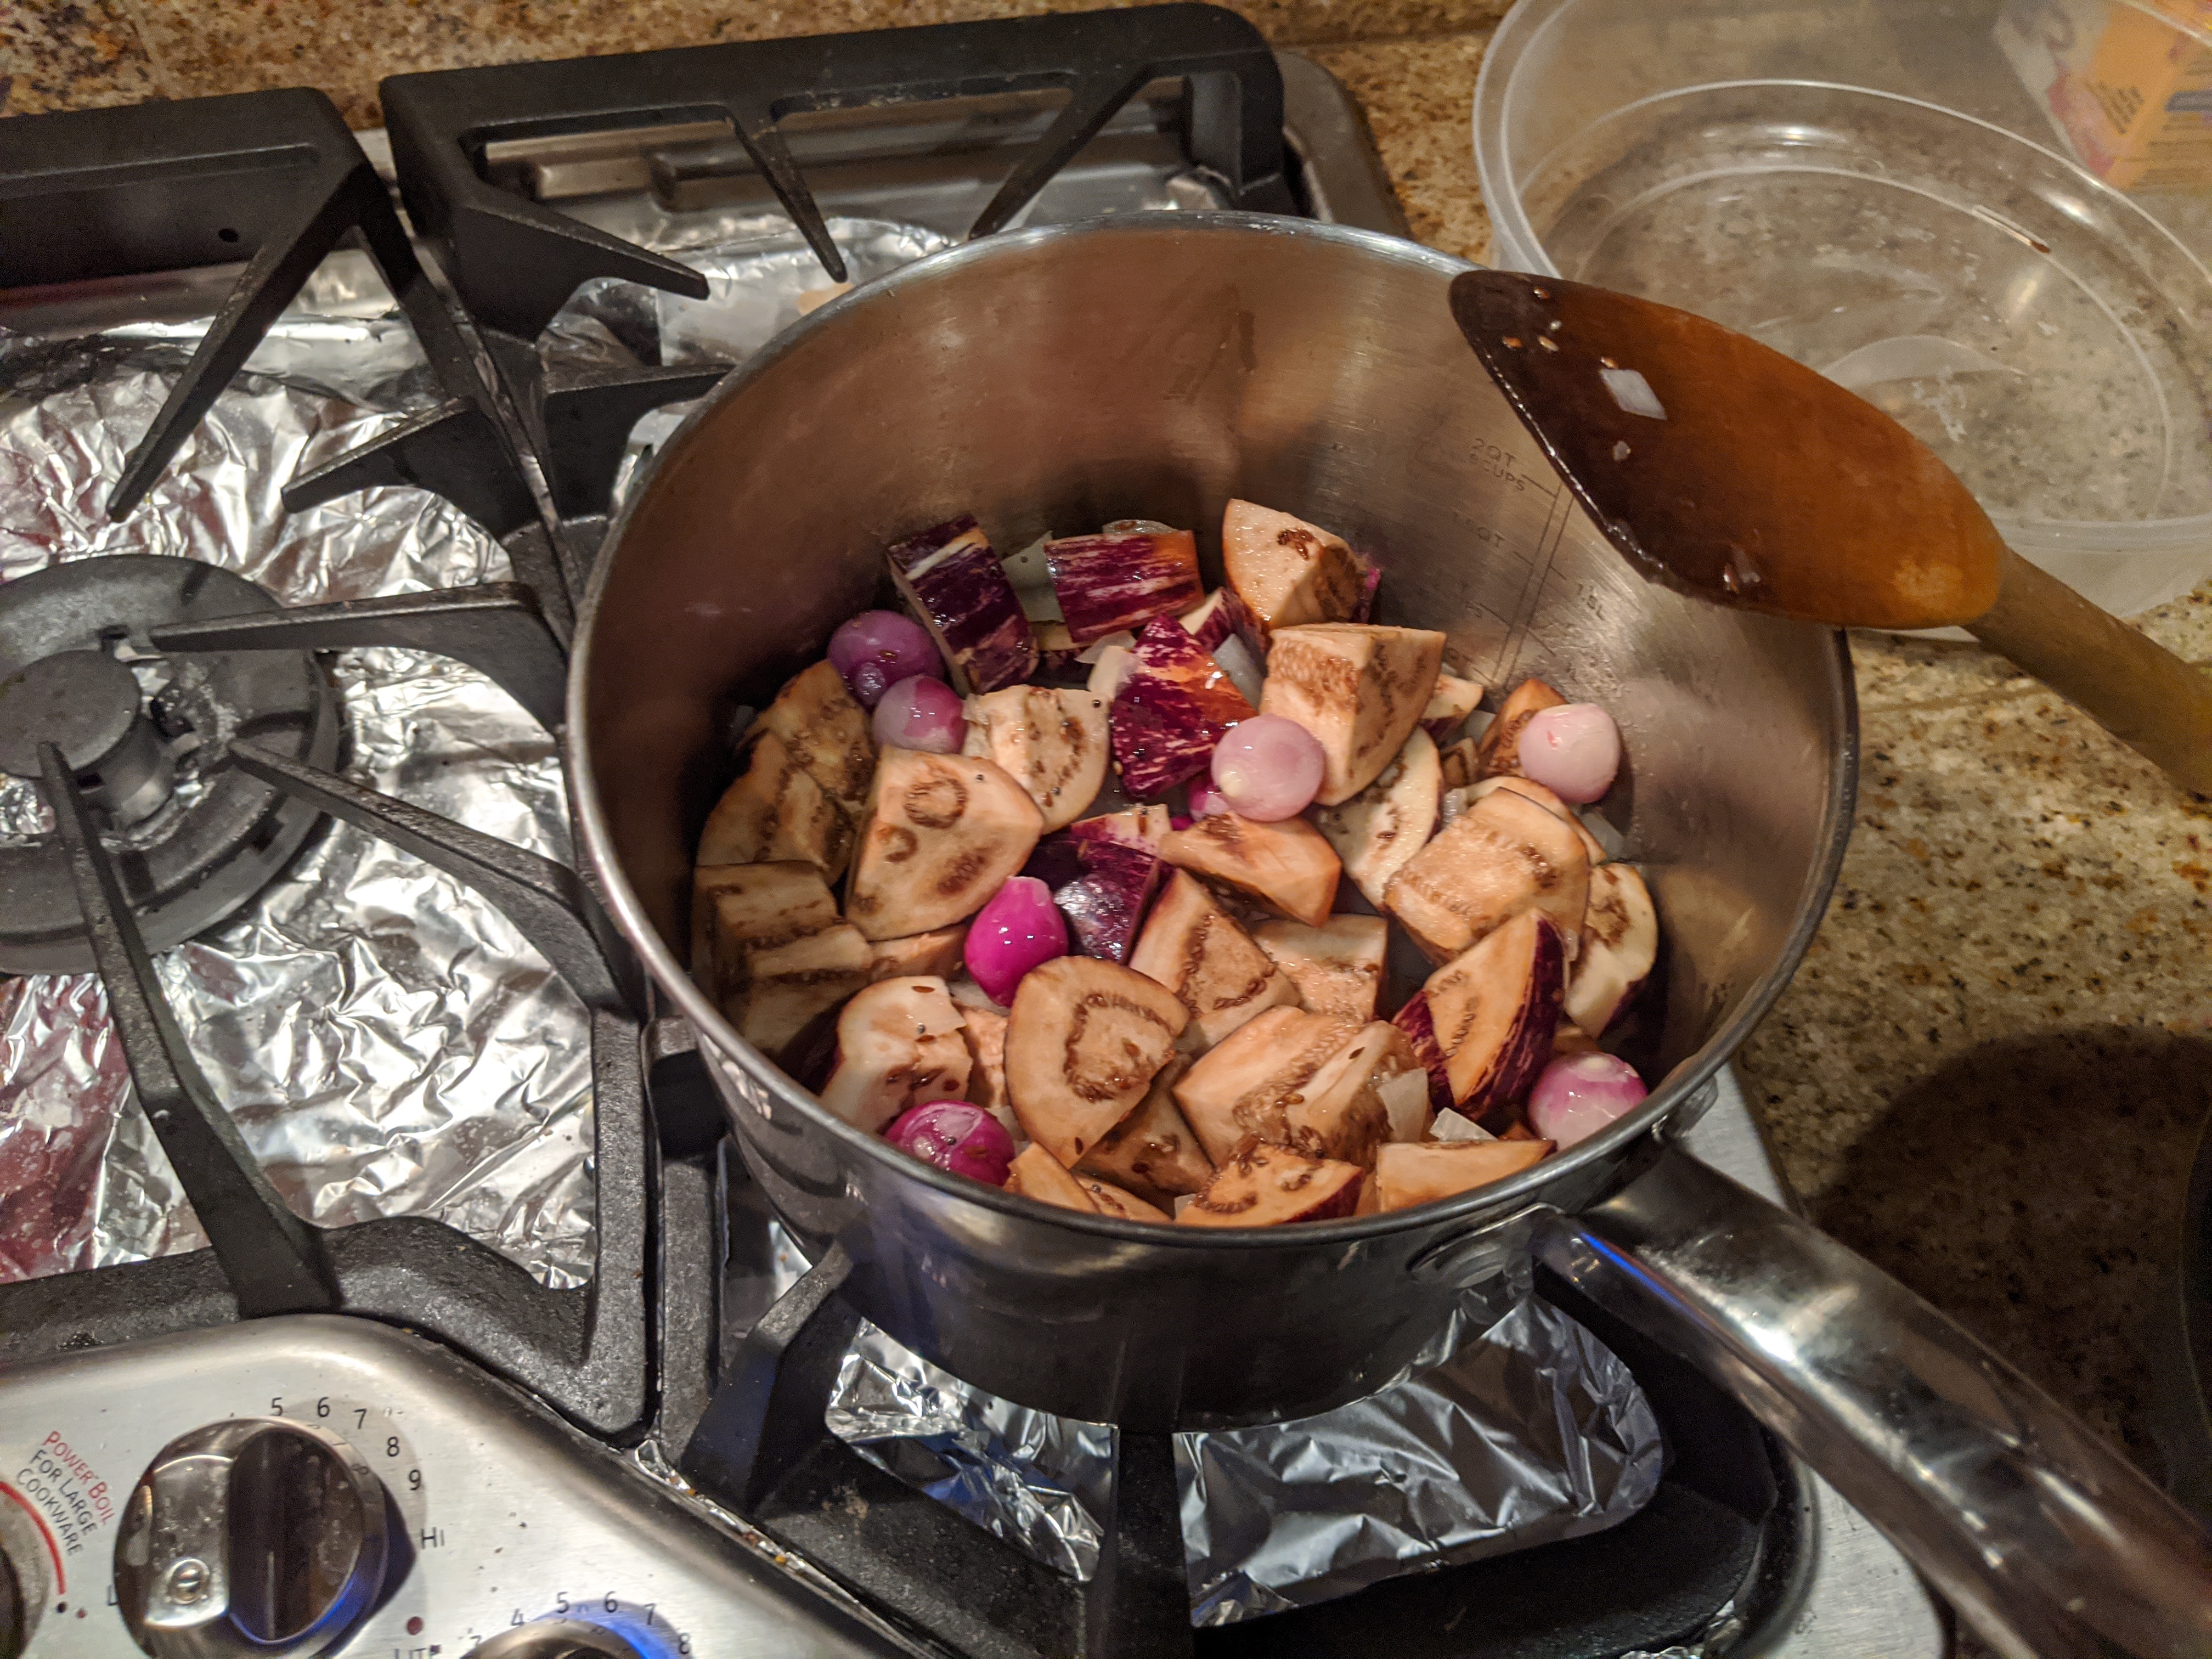
- After only 15 seconds, add diced 1/2 large onion. If you are also including small onions, add them too. Cook until the large onion’s pieces turn translucent.
- If you are including any other vegetables, add them now
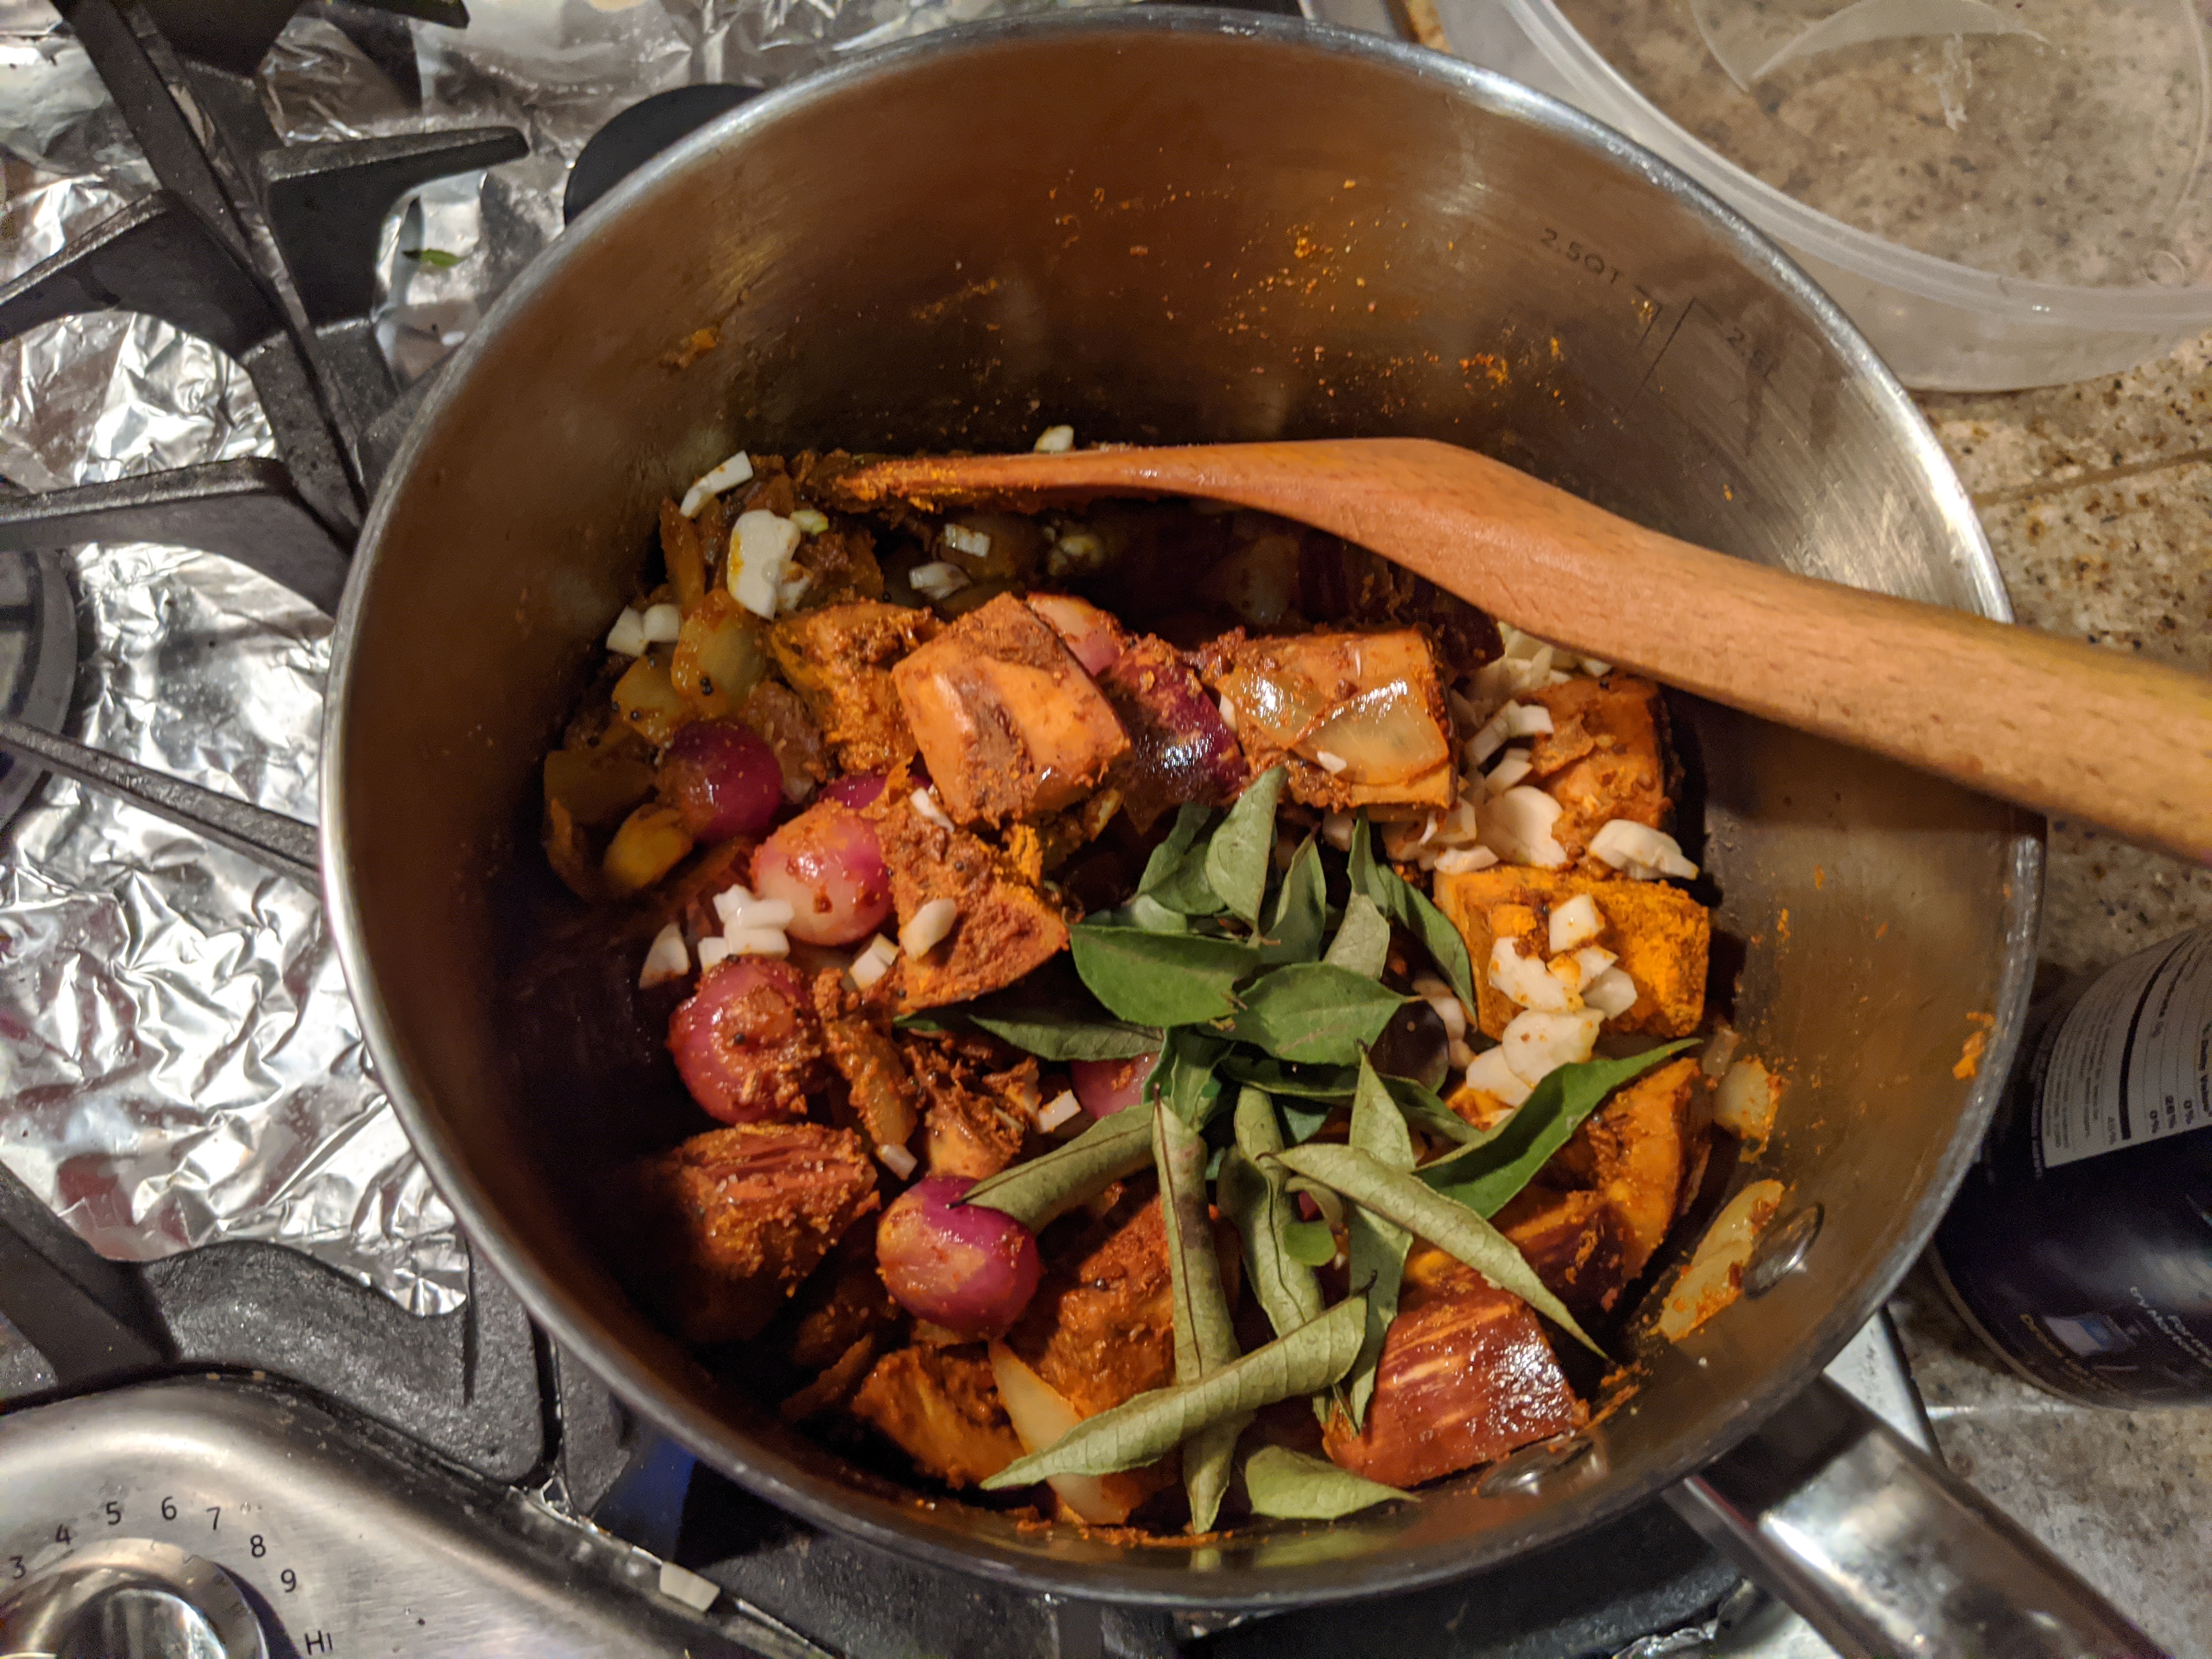
- Add 2.5 tsp of salt (for now), 1 tblsp of turmeric (மஞ்சள் பொடி), 4 tblsp of sambar powder (சாம்பார் பொடி). The salt will help the onions and vegetables cook down and release its water content. Add a tiny amount of water to ensure the powder doesn’t get stuck on the bottom and burn in the heat. Let the vegetables cook down a little bit.
- Add 4 finely diced cloves of garlic (பூண்டு/உள்ளி பல்). Optional: add a handful of curry leaves, fresh or dried (கறிவேற்பிலை)
- Add the tamarind water, ensuring the solid parts are strained out
- Add 1 diced large tomato
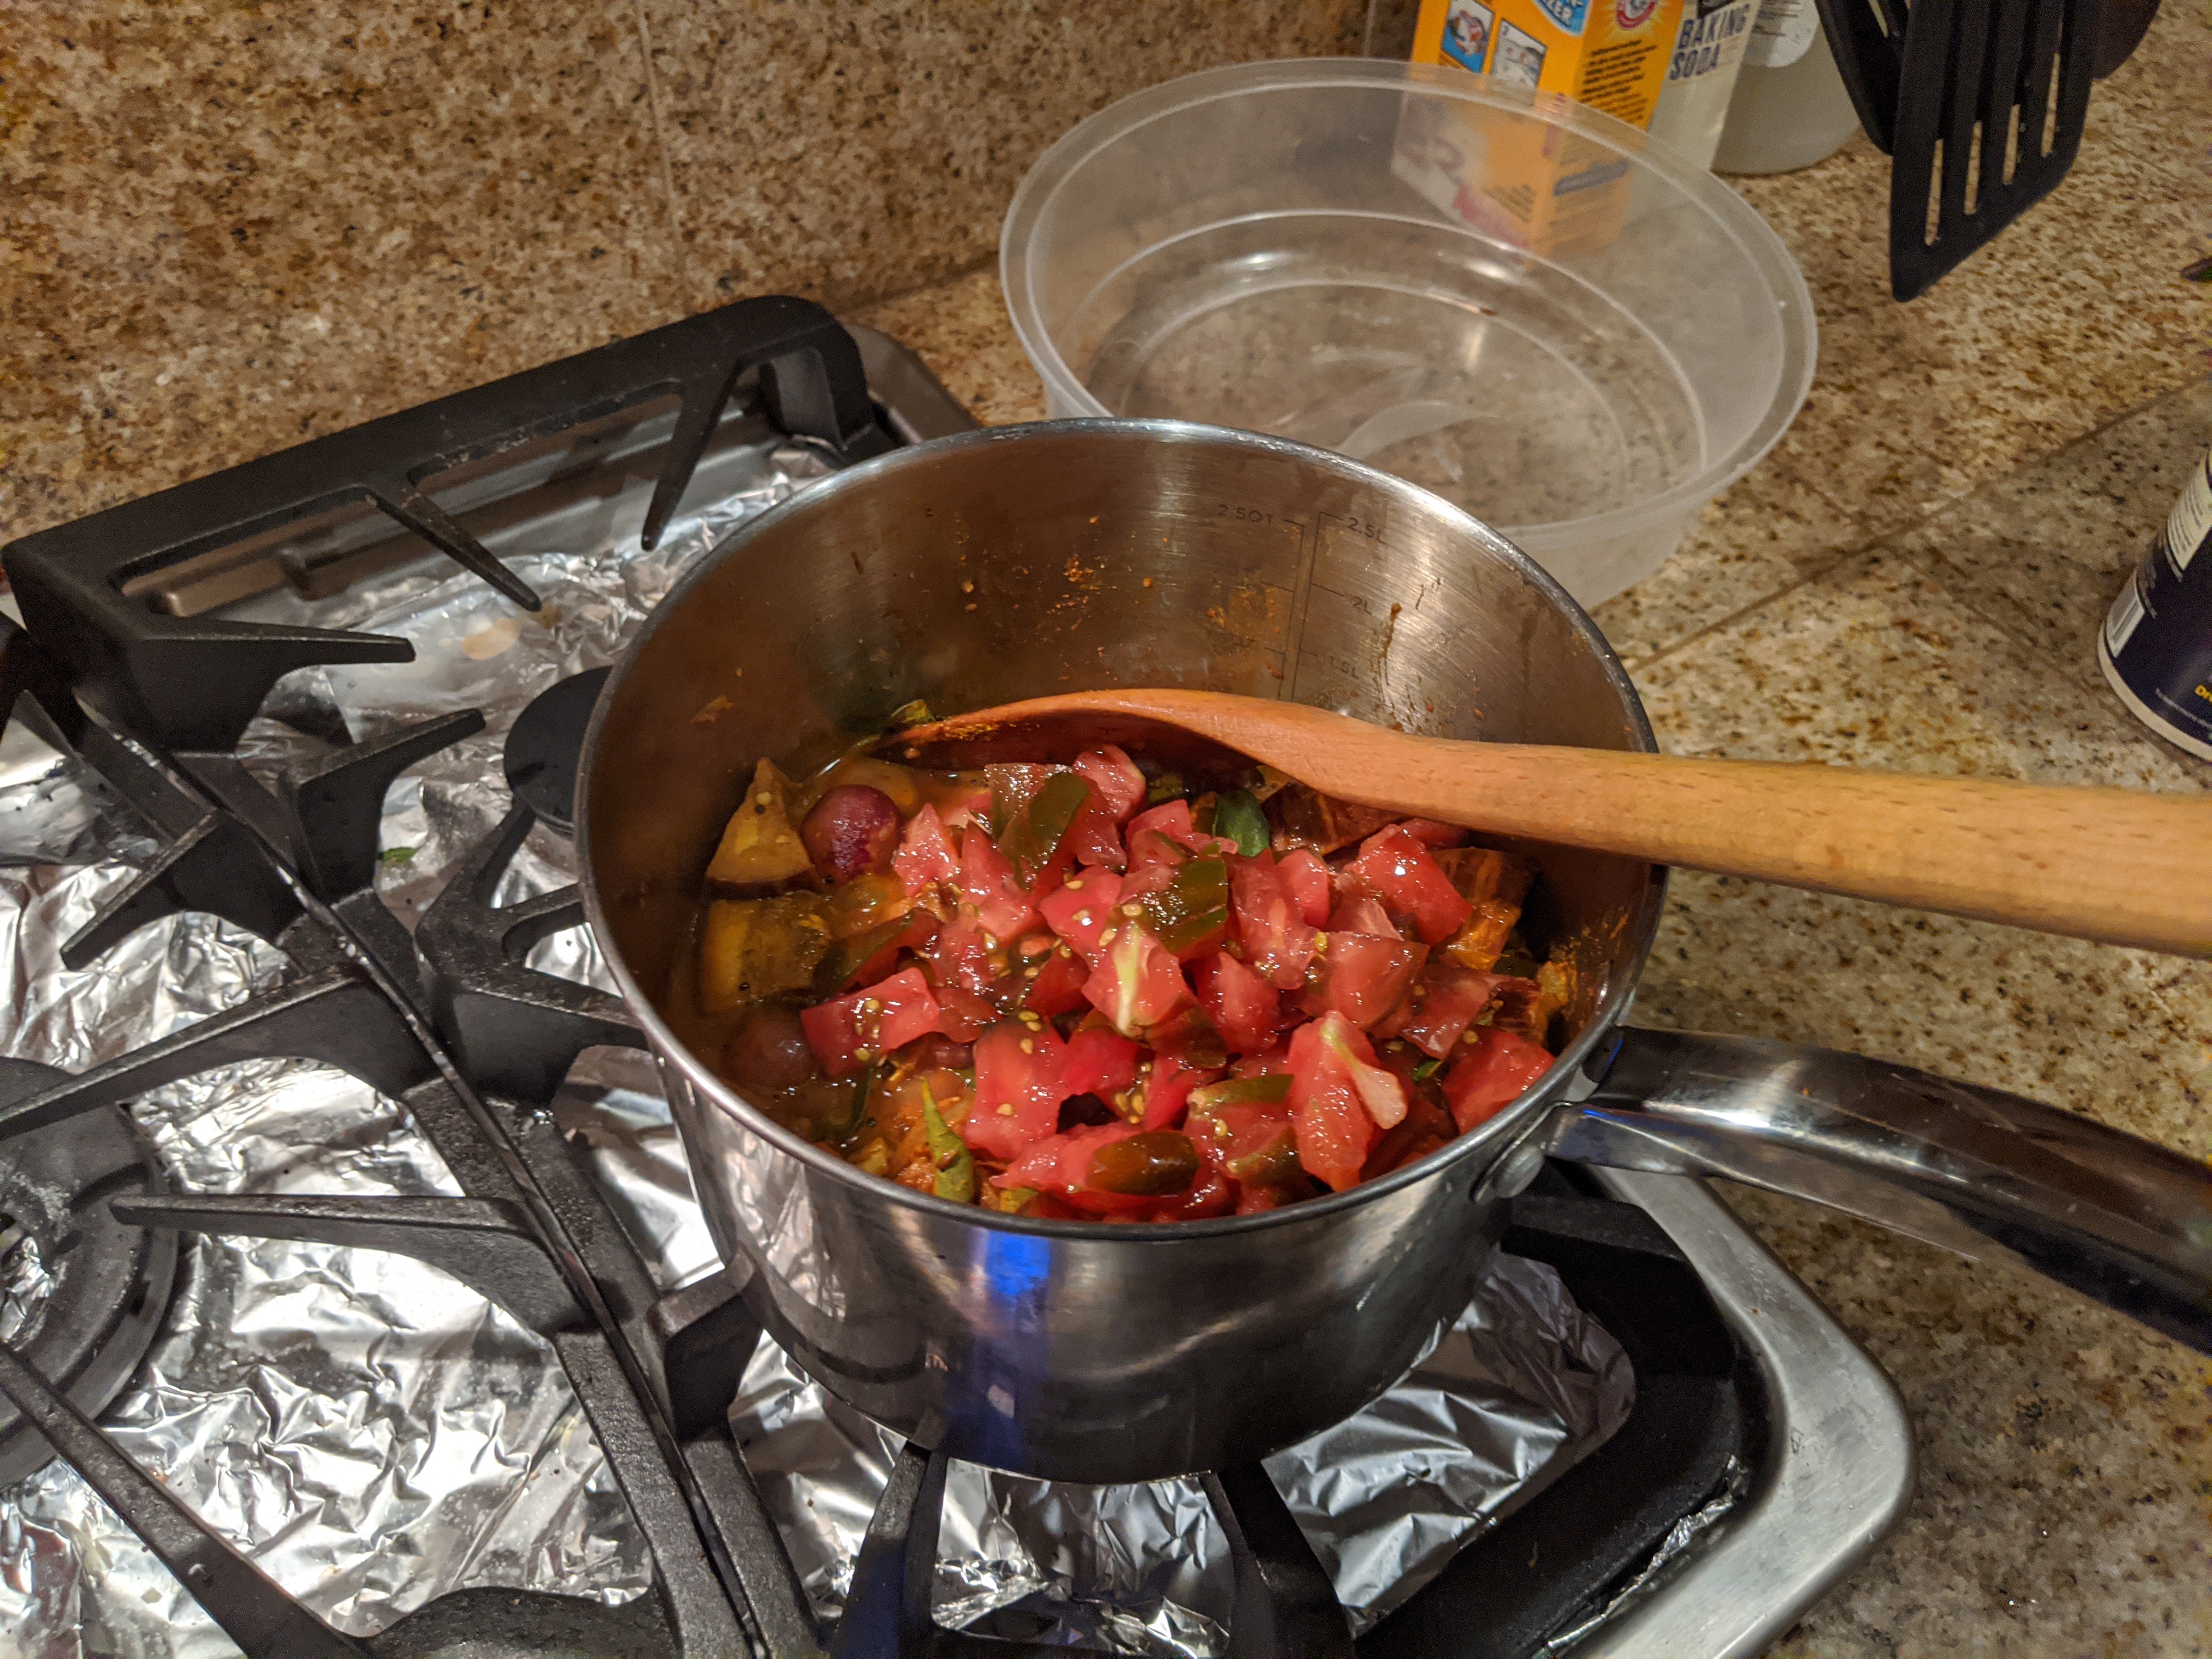
- Let the contents cook. Put a lid on top to speed up the cooking. It might take about 15 mins. By the end, the tomato should be cooked down entirely such that it disappears into the broth.
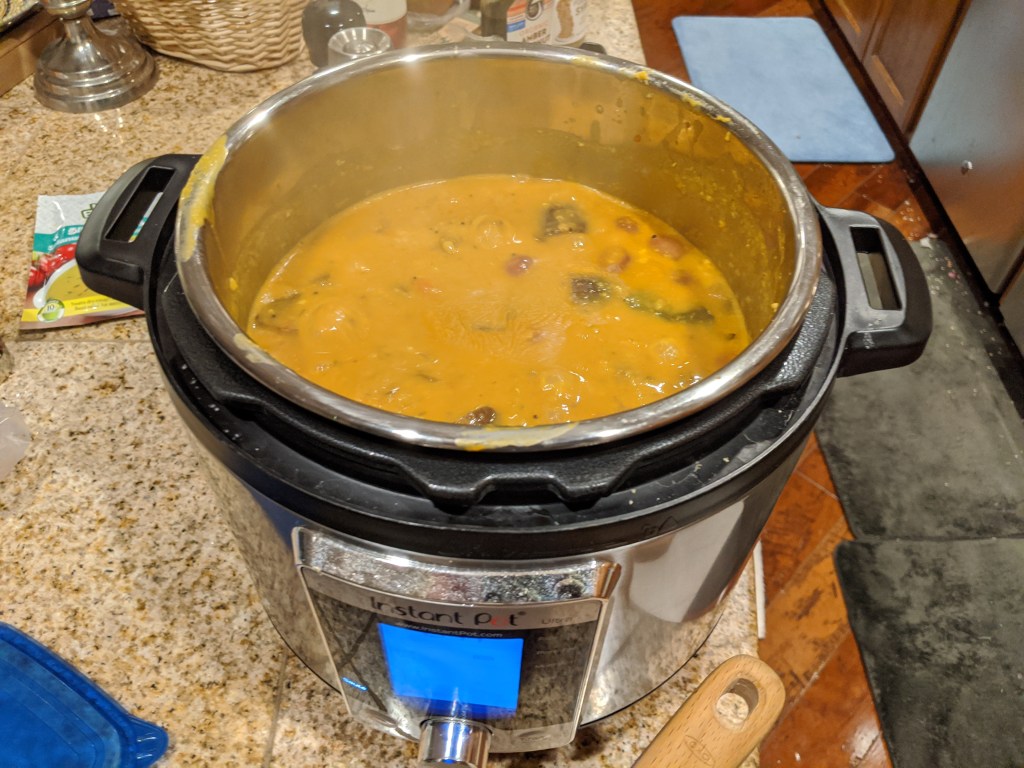
Combination
- After adding the lentils and the spices together, add enough salt to taste. Maybe another 3-4 tblsp? The amount might depend on how much is / isn’t in the sambar.
- If pouring the spices into the lentils, you can use the Instant Pot instructions from paasi paruppu. Remember to remove the stainless steel container from the Instant Pot to remove excess residual cooking / evaporating.
- Otherwise, pour the lentils from the Instant Pot into the regular pot with the spices on the stove, and cook long enough for the combination to mix. Take off the heat.
காய்கறிப் பொரியல் (மரக்கறி வறுவல்) / sauted vegetables
Most vegetables will have the same recipe. Different vegetables will have slight embellishments.
அடிப்படை செய்முறை / basic recipe
The following recipe is probably better using a regular pot because you can adjust the temperature up and down quickly and precisely. Also, using a regular pot allows the Instant Pot to be used for cooking grain simultaneously.
(Increasing temperature saves time after adding the vegetables to cook down / release the water content from the vegetables. Decreasing the temperature helps at the end once most of the water is released so that the vegetables do not dry out, stick to the pot, and burn.)
Instant Pot method for sauteing vegetables:
- The following instructions are for roughly 1 pound of vegetables (or an amount that cooks down to the size of a large onion)
- Add 3 tbsp of oil to the pot
- Add 1 tbsp of mustard seeds (கடுகு)
- Turn on pot to Saute Mode on Low heat for 12 mins
- Once the mustard seeds start to “pop” (jump out of the oil), the oil is hot enough to start cooking.
- Add 1 tbsp of uLunthu (உளுந்தும் பருப்பு, “urad dal”)
- After a short time (ex: 30 seconds), the uLunthu will become golden brown
- Add 1 tbsp of pottu kadalai (கடலை பருப்பு, “bengal gram”), wait until the pottu kadalai is golden brown
- Add a few leaves (2-3) of curry leaves (கறிவேற்பிலை), fresh or dried. This can be omitted if you can’t find curry leaves, but they are a part of the traditional style.
- Add 1/2 large onion, diced. Optionally sprinkle a little bit of salt to help the onions to sweat
- Wait until onion become translucent
- Turn pot on Saute Mode on a custom temperature for 24 mins (290 degrees F)
- Add vegetable
- Add a small amount of salt (1/4 tsp of salt) to help vegetables to sweat
- Wait until water content of vegetable is cooked out.
- Add remaining amount of salt (total added = approx 1 1/4 tsp = less than 1/2 tblsp of salt). Or, iteratively add salt until adequate. (Not enough salt does not bring out good taste, but can aways be adjusted afterwards, but too much salt is too salty and cannot be adjusted. Adding too much salt may not be obvious when water content is still high, but will taste salty after water content has full left.)
- Reduce heat when most of water content has left (rate of water loss from vegetable decreases) to avoid drying out or burning vegetable.
- Optional: add fresh grated coconut, which is a part of the traditional style of making this. Fresh grated coconut is hard to find in grocery stores, but if you can find frozen shredded coconut, you can thaw it out and then add it (I haven’t tried this yet). I have not tried or considered trying dried shredded coconut.
If not using Instant Pot, a regular pan can be used for 1-3x amount of vegetables. A large pot makes it easy for 3x times of vegetable or more, and is in many cases easier than Instant Pot in this case.
கீரை / spinach
Spinach is the same as the basic recipe, with the following additional step:
- Before adding onion, add 3 cloves of garlic, diced
- Optional: I find adding 1/3 tsp of turmeric at the end makes it taste better to me. Turmeric is very strong, so adding any more will be too much because it will overpower other flavors
- Optional: some people add 1/4 tblsp cumin seeds (சீரகம்) after putting the uLunthu paruppu & kadali paruppu, for taste. Cumin seeds heat up fast like the paruppu, so do not delay adding onions.
It’s easier to cook spinach using 1 lb blocks of chopped frozen spinach isntead of cooking down raw loose leaf spinach.
புடலங்காய் / snake gourd
Same as the basic recipe, with the following additions:
- Optional: Like spinach, I find adding 1/3 tsp of turmeric makes it taste better. Other people prefer sambar powder instead of turmeric.
Snake gourd has a larger amount of water compared to other vegetables. I adjusted the stove heat to high until most of the water was evaporated, and then I reduced the heat accordingly to prevent burning.
கோவக்காய் / ivy gourd
Same as the basic recipe, with the following additions:
- Optional: Like spinach, but try adding 1/3 tsp of curry powder.
கஞ்சி / “Kanji” (aka congee)
Follow the same instructions for traditional grains except with the following changes:
- Instead of a 1:3 water ratio, use a 1:8 water ratio
- Instead of 12 mins of cook time for millets, use 18 mins
That’s it.
The recipe for millets assumes that the millets are hulled, as you find them most commonly. With kanji, compared rice, the taste of salt seems to come through less, so you can add salt afterwards for flavor as necessary. And you can add other things to your kanji. A simple kanji with just one ingredient typically adds ஊறுகாய் (“pickle”). தொக்கு (similar to ஊறுகாய் and almost as intense in flavor, salt, sourness, and spice) is good because it has a lot of concentrated flavor and a thick gravy to it. That is a typical thing to eat when you’re sick. I accidentally over-salted my கீரை பொரியல் (sauteed spinach), which means I can add it to the kanji and the kanji absorbs the taste of the extra salt easily. Any meat and/or vegetable dishes with a thick flavorful gravy might be good options. Sambar doesn’t seem like a good option — at least, I’ve never heard of anyone eating that with kanji. But I wonder if பருப்பு பொடி (lentil powder mixed with spices meant as a topping for rice or a side for other dishes) might be good, since it is possible to eat place rice with just பருப்பு பொடி.
I’m starting to think about the Instant Pot recipe numbers this way: the water ratio controls how dry / moist / wet / soggy something becomes, whereas the cook time affects the texture (softness) of the grain etc. being cooked. That may not sound ground-breaking, but so much food is undercooked (hard) because it isn’t cooked long enough — just look at the rice served in any Chipotle or the quinoa at any Whole Foods hot bar. Here, with the kanji, I got the numbers from elsewhere on the web, but it seems like the 1:8 water ratio was consistent across all sources and grain types. The 1:8 ratio might be necessary to achieve the soupy characteristic of any kanji in the way that 1:3 is characteristic of சோறு (rice, grains) or steel cut oats that isn’t too dry or too wet. The cook time for millet kanji is different from rice kanji, so I am thinking the kanji cook time is 50% more than the typical சோறு style cook time. This extra time for kanji is maybe to make the grain so soft that the grains split apart and some become part of the “soupy base” and make it thicker by contributing its starch content.
I’ve seen recipes that turn “millet porridge” into a savory thing, which is apparently traditional in Japanese and Chinese cuisine and even in Thailand as a breakfast item. The idea of the Japanese okayu style that adds onions, nori, and sesame seeds seems really appealing, at least just for the nori. Some people treat “millet porridge” like a base for adding fruits and nuts, which sounds nice, so long as it doesn’t go further in the modern American cuisine playbook of finding a way to add enough sugar to make it borderline unhealthy. Some Tamil people have used steel cut oatmeal as a base for savory kanji recipes, and now I see how the crossover may have sort of worked. I think I will stick to trying out kanji for breakfast as a bulwark against the notion that the first meal of the day should be laden with added sugar and simple starches, and it’s quick to make extra and heat up leftovers, and versatile for experimenting. It is apparently a common thing in Taiwan to have congee restaurants where the rice congee is free and you pay for the meat and veggie toppings that you add to / eat with.
